Do you own a pool? They can be a beauty or they can be a beast, it all depends on your attention to detail! Here are some tips to help you maintain a swim-ready pool.
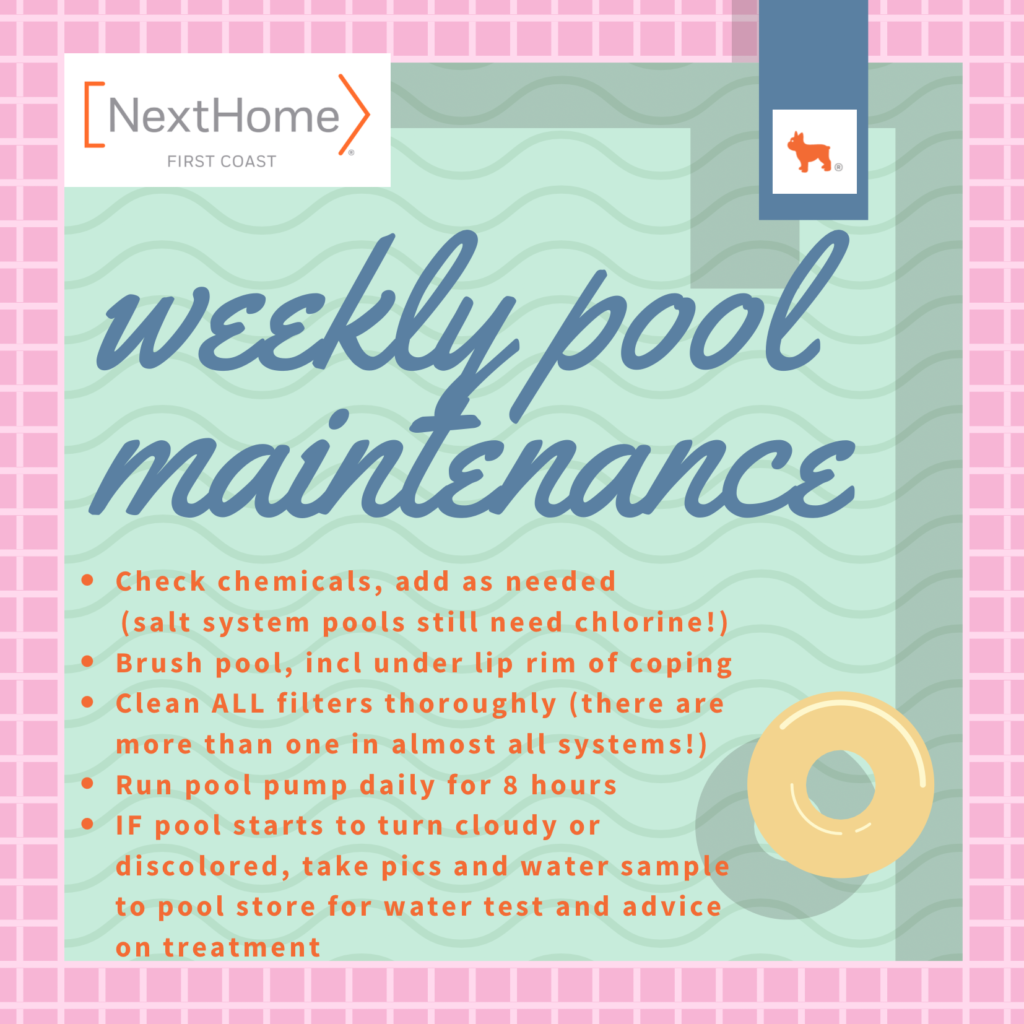
Weekly pool maintenance is the key to a healthy swimming pool year-round. It takes some work and dedication, but once you know how to do all the things it takes, you really should be done with your pool maintenance in just a few short minutes.
Pool Maintenance item #1: Check chemicals, add as needed.
Salt system pools still need chlorine, and all pools need a balance of acid and pH. You can buy home test kits, or you can take a water sample to your local pool store and they often do the water testing for free.
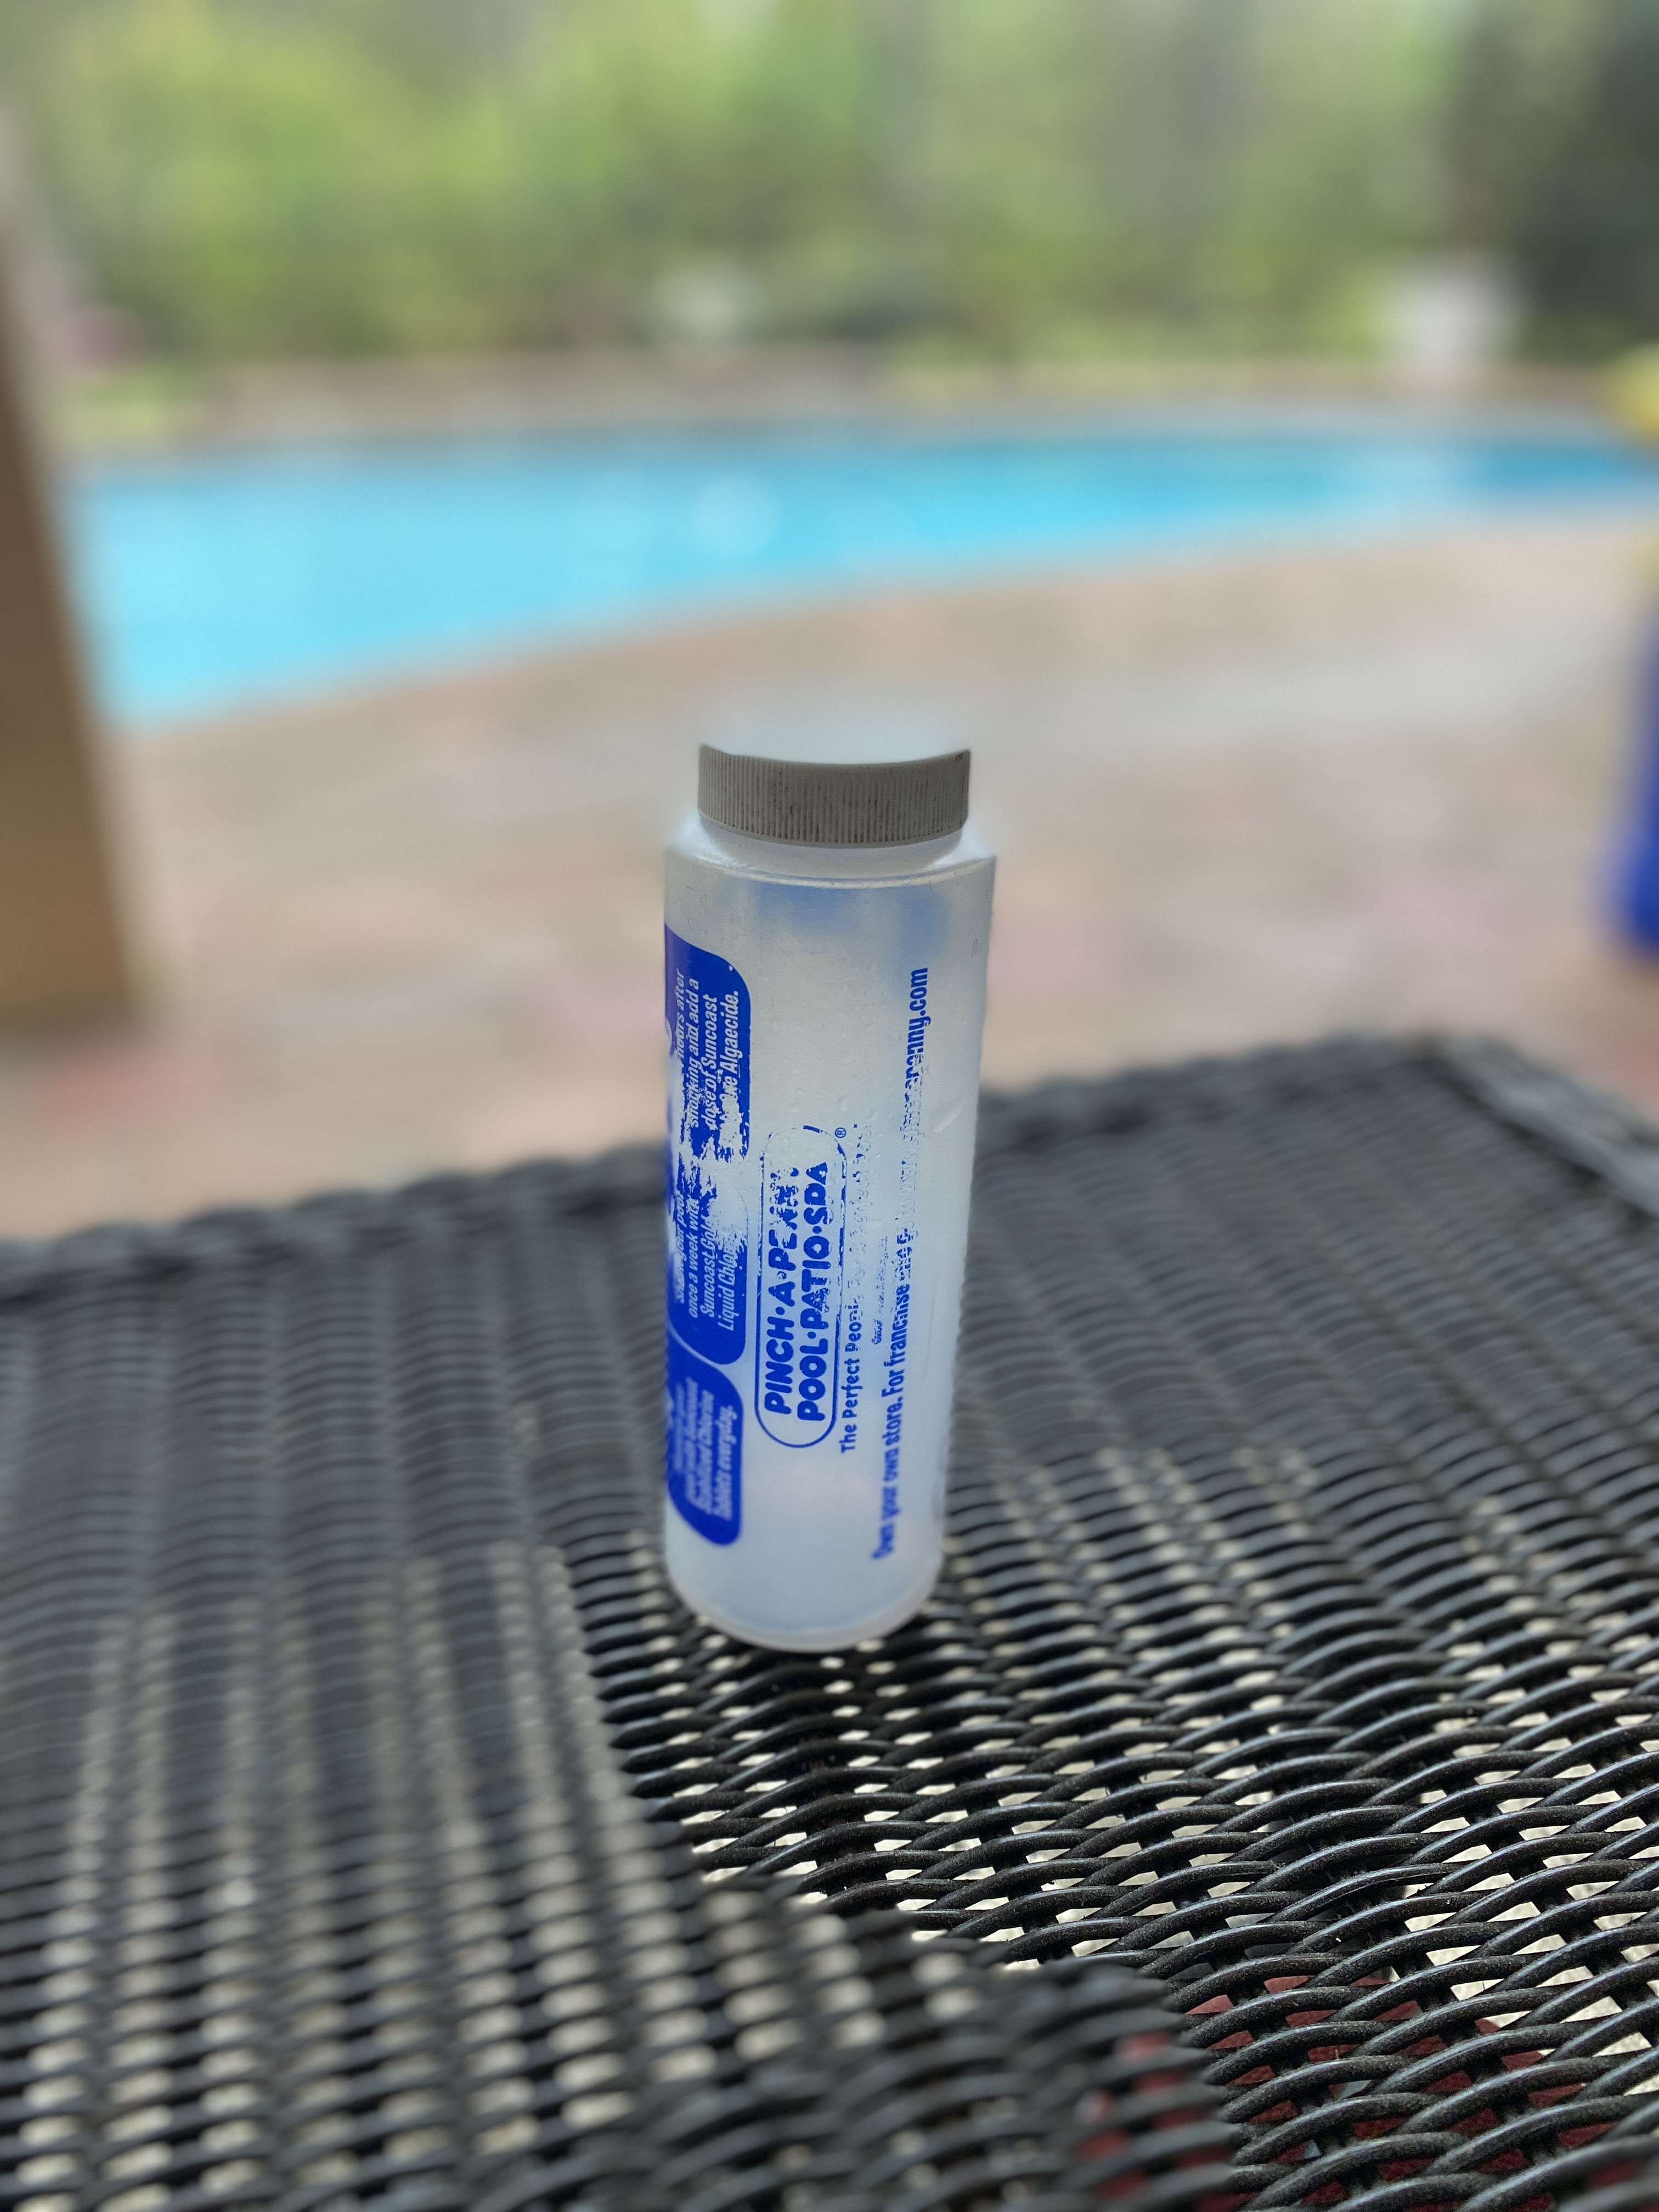
Pinch-A-Penny is my favorite pool store, so I’ll tell you what they do and you can assume most pool stores probably operate in a similar fashion. I use this bottle provided for free from Pinch-A-Penny. I collect pool water from the deepest part of my pool, lowering the bottle to elbow-deep to collect the water sample. I try to ensure the water is within 24 hours of when I’m planning on heading to the store, because otherwise the environment can change (rain, temperature, etc) and change the needs of my pool before I can even get the water tested. I cannot tell you how many times I’ve carried around a full bottle of pool water in my van and had to dump it and re-collect because my errands got sidetracked. Luckily, I’m in no shortage of pool water to sample!
Next, the pool experts run all the tests to see what my pool might be needing for optimal swim water. The report they run is very comprehensive. A list of what they test can be found here:
https://pinchapenny.com/info/free-pool-water-test
Next, you might be asked to add some things. Salt bags are easy, just pour them in and let it dissolve.

Adding Acid is a little more complicated, and sounds super scary. The first time I did it, I was really nervous. Since then, I’ve learned a lot and have it down pat. Here’s my system: You grab a jug of Muriatic Acid.
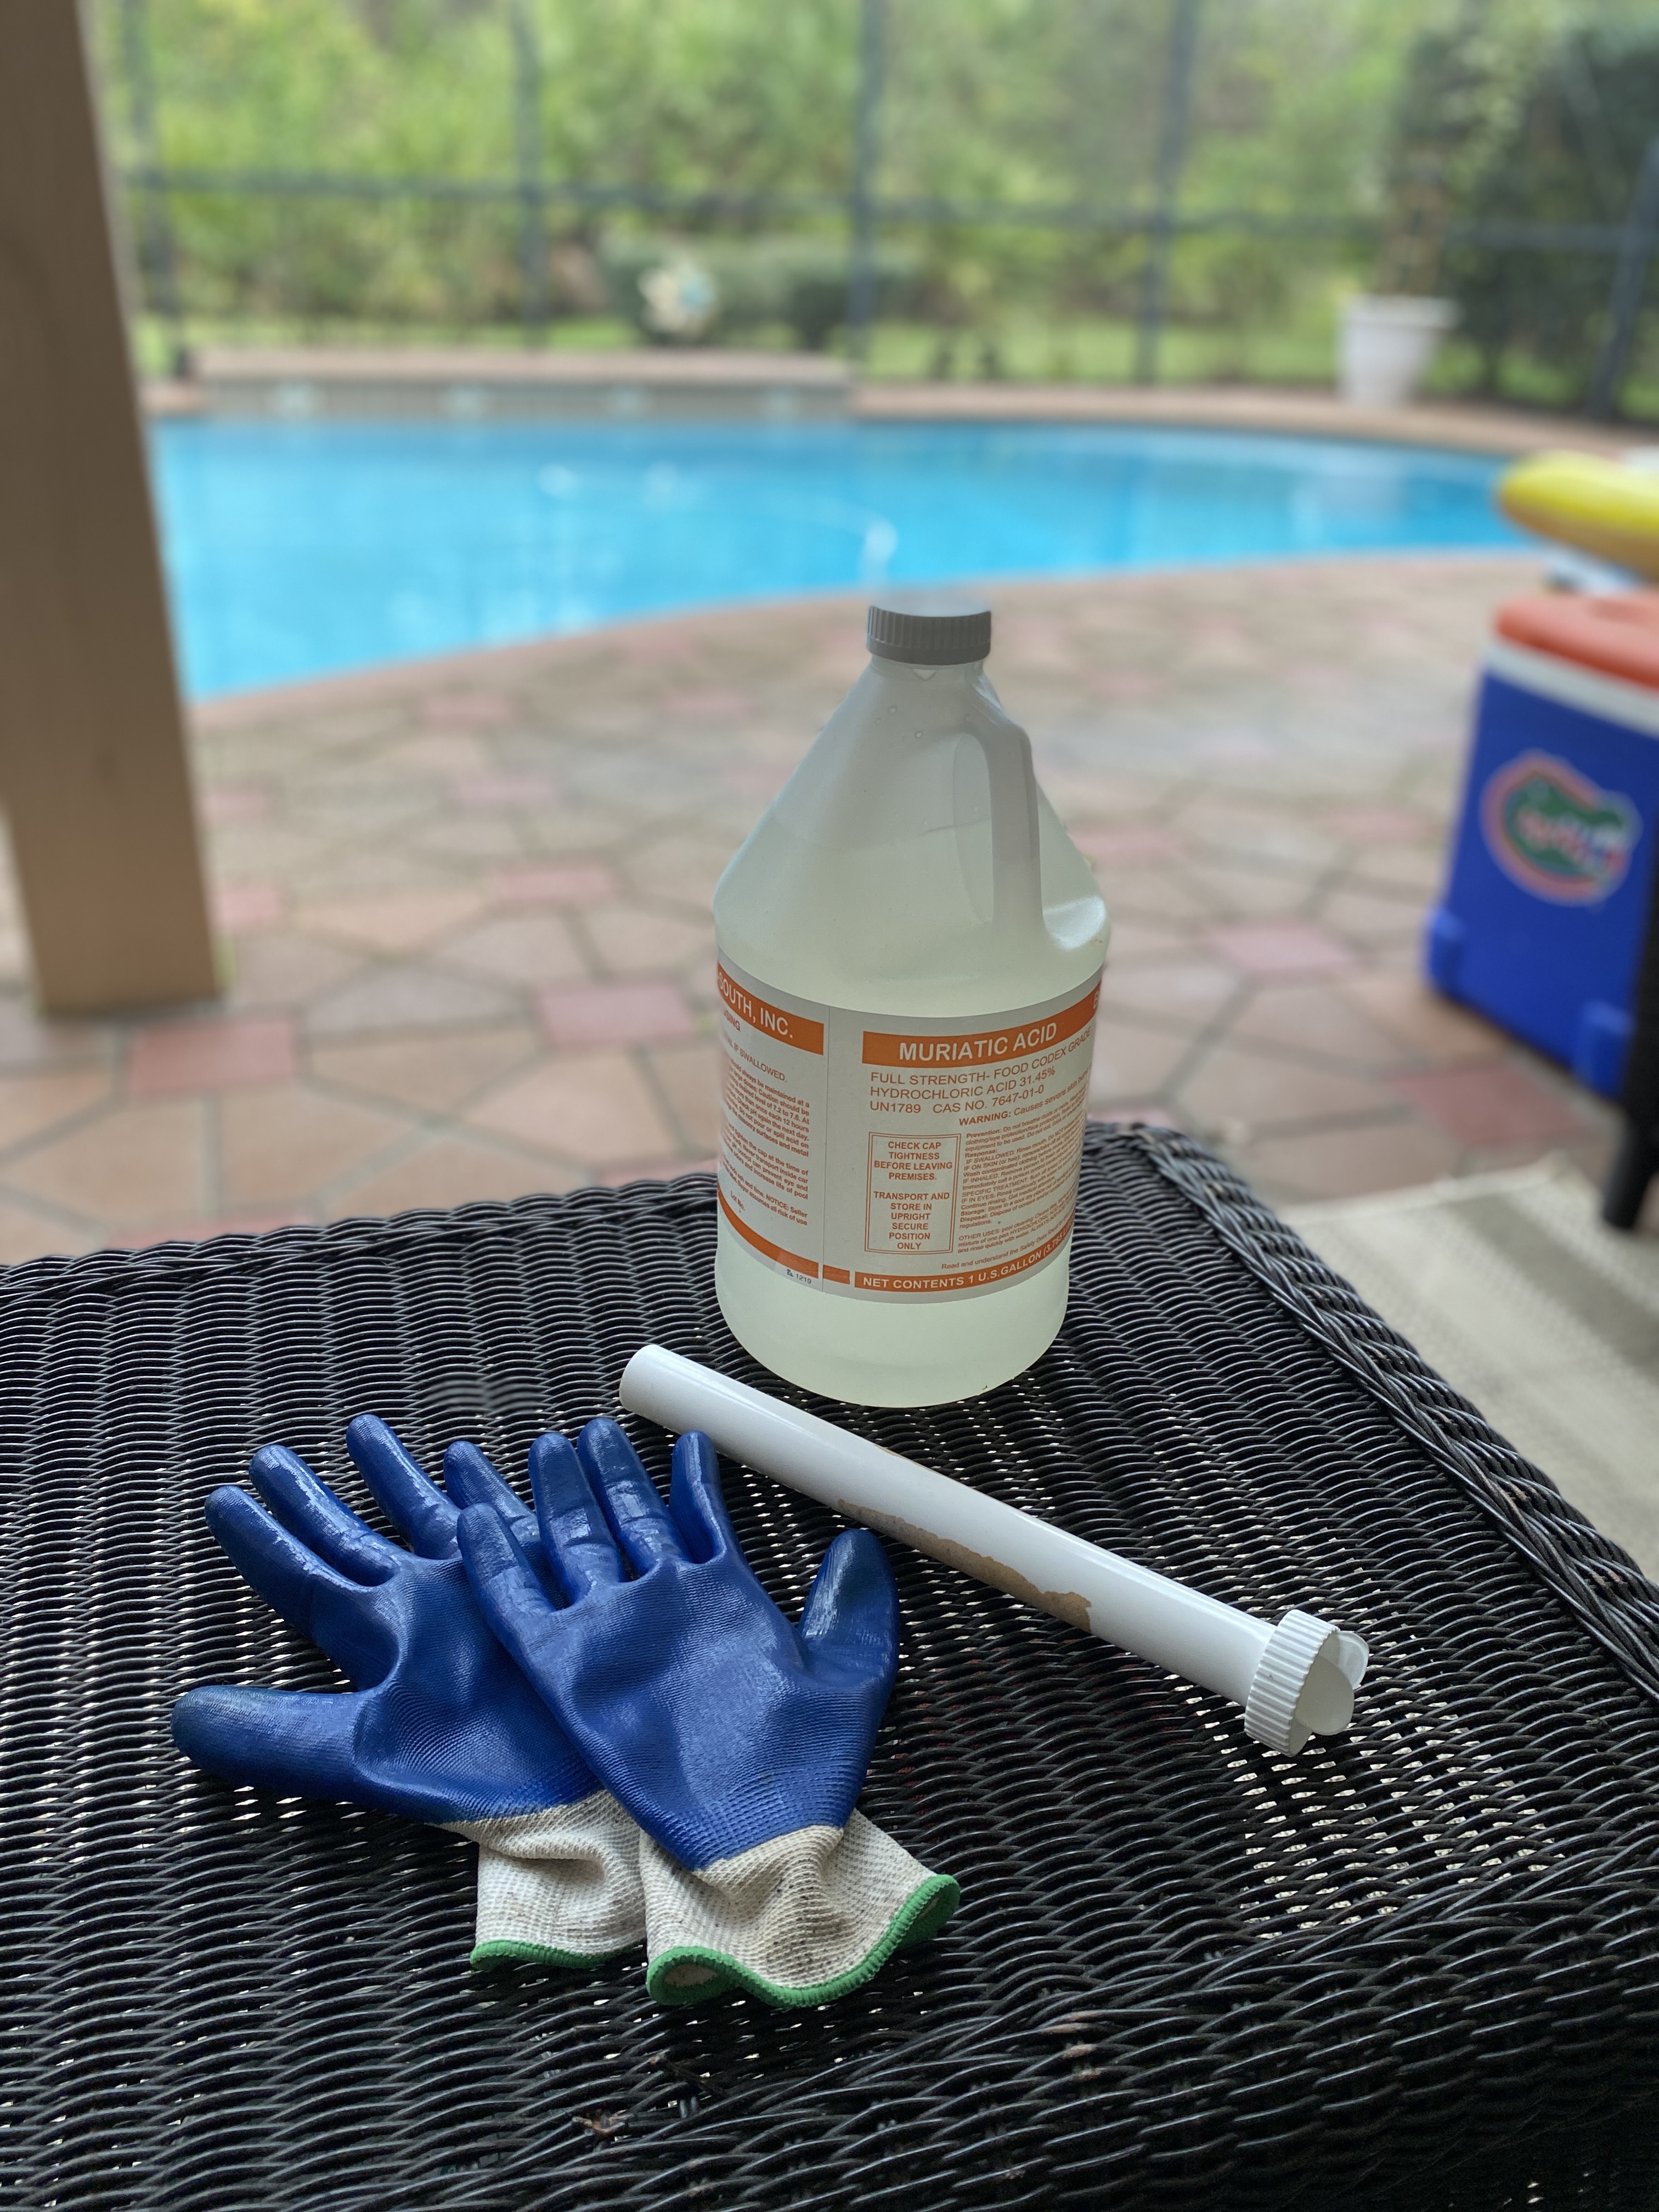
Buy yourself a handy tool that screws into the top of the jug. It looks like a skinny PVC pipe. This will help push the acid further away from you as you pour, which makes it less likely to splash on your skin or face. Then, I always wear rubber gloves that I can easily rinse off in the pool when I’m done with the acid. You can even wear a mask or goggles if you wish to be extra cautious, though I have found with this extension piece, I am able to get the acid close enough to the water’s edge and far enough away from me that I have no issues with splashing anymore. The smell is still terrible, so please be careful and don’t breathe it all in. I like to do a little at a time, and walk around the pool a bit to let the air circulate. Once I’m done, I cap the acid bottle and move to an area I did NOT just put acid and quickly dip the entire jug as well as the extension piece and my gloves entirely to rinse any remaining acid. Then I know my kids and pets are safe in case they come into contact with the bottle or items. Acid DONE! Check!
Next is stabilizer. If you need to add stabilizer, you simply follow the amount instructed by your pool professional by adding it to the skimmer.
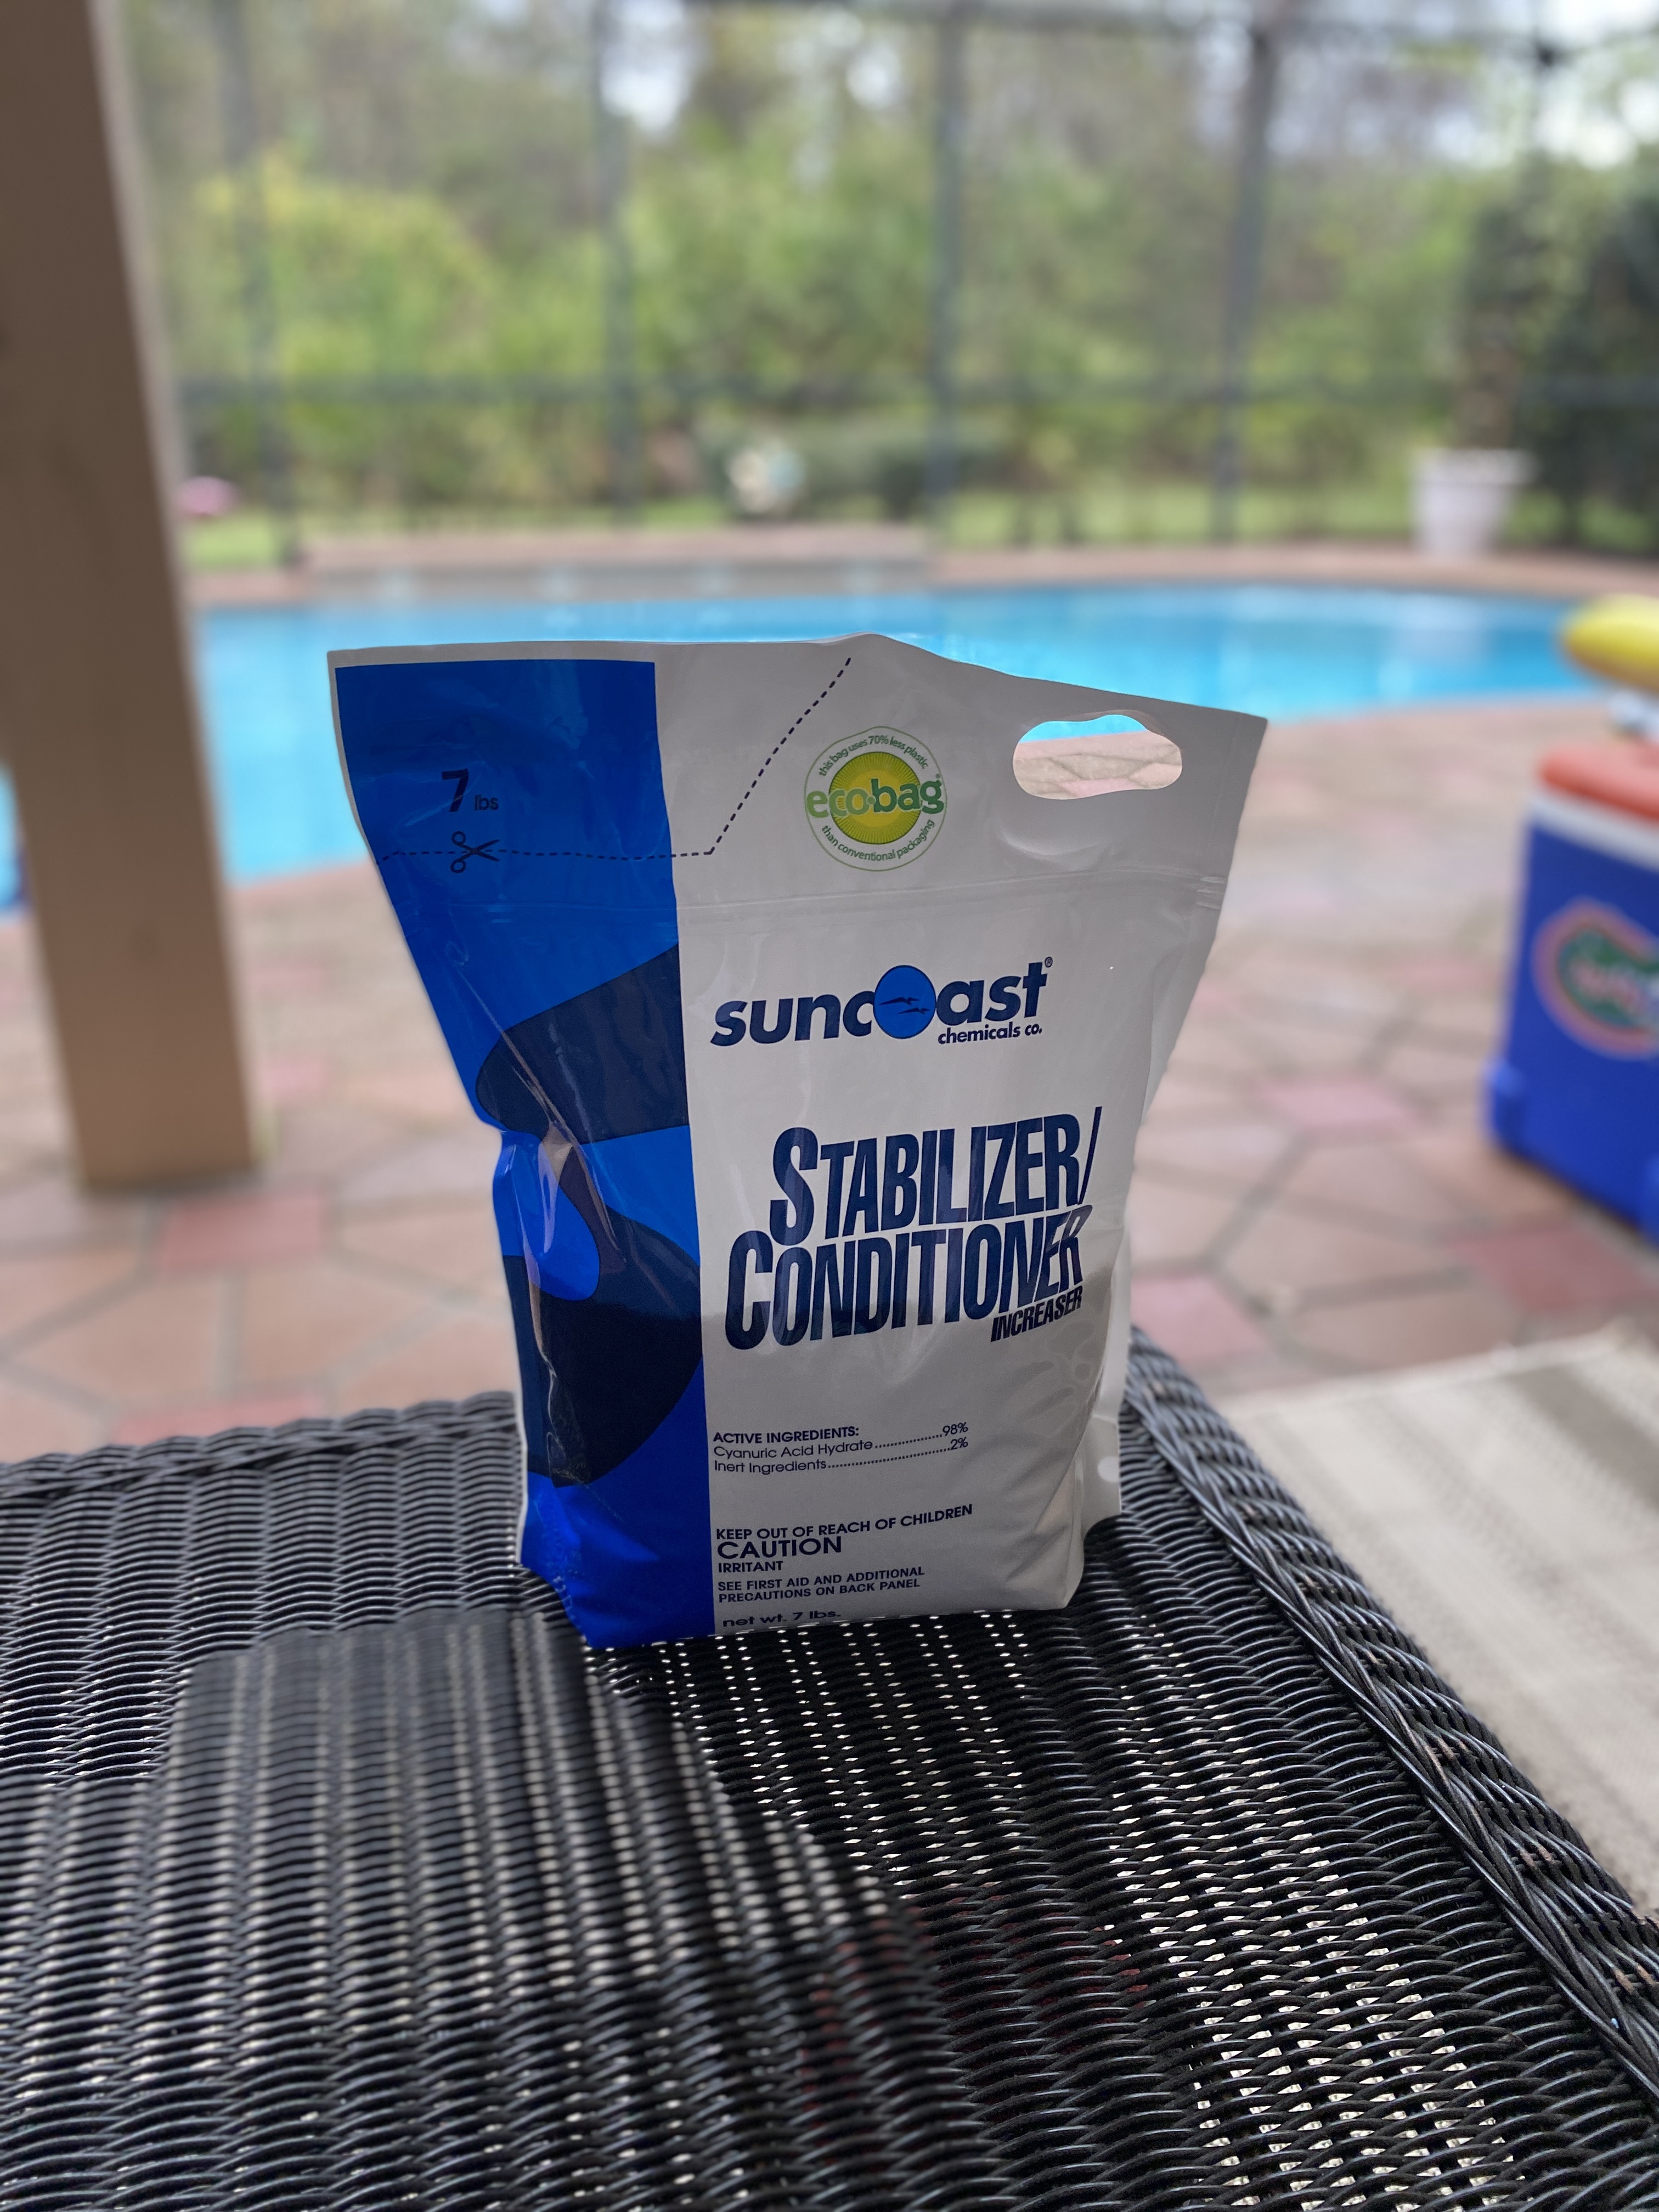
The skimmer is that little plastic container that you pull up from time to time near the deep end of your pool that catches the leaves and small floating items. You pour the stabilizer right into that skimmer net, and it will dissolve and get sucked into the filtration system and become part of the water system. Do NOT clean your filter for a few days after you add stabilizer! Give it some time to dissolve first, or you will wash it all away (larger stabilizer crystals will get caught in the filter and just need a little more time to dissolve). This bag usually re-seals, so if you cut it carefully and don’t need it all, you can save it for next time.
Typically these are the main items I add regularly: Salt, Acid and stabilizer.
Pool Maintenance item #2: brush your pool.

Using a long extendable pool brush, sweep every square inch of your pool. You don’t have to scrub, you just have to move the dirt that has settled on the bottom and sides, so it has a chance to go through the filter, or get sucked into your pool vacuum. You should also brush under the lip of your coping all along the edge. That’s where the dirt, bugs and pollen can get stuck. Remember to sweep the in-pool ledges and steps too. Anywhere your pool vacuum cannot easily reach needs to be swept well weekly.
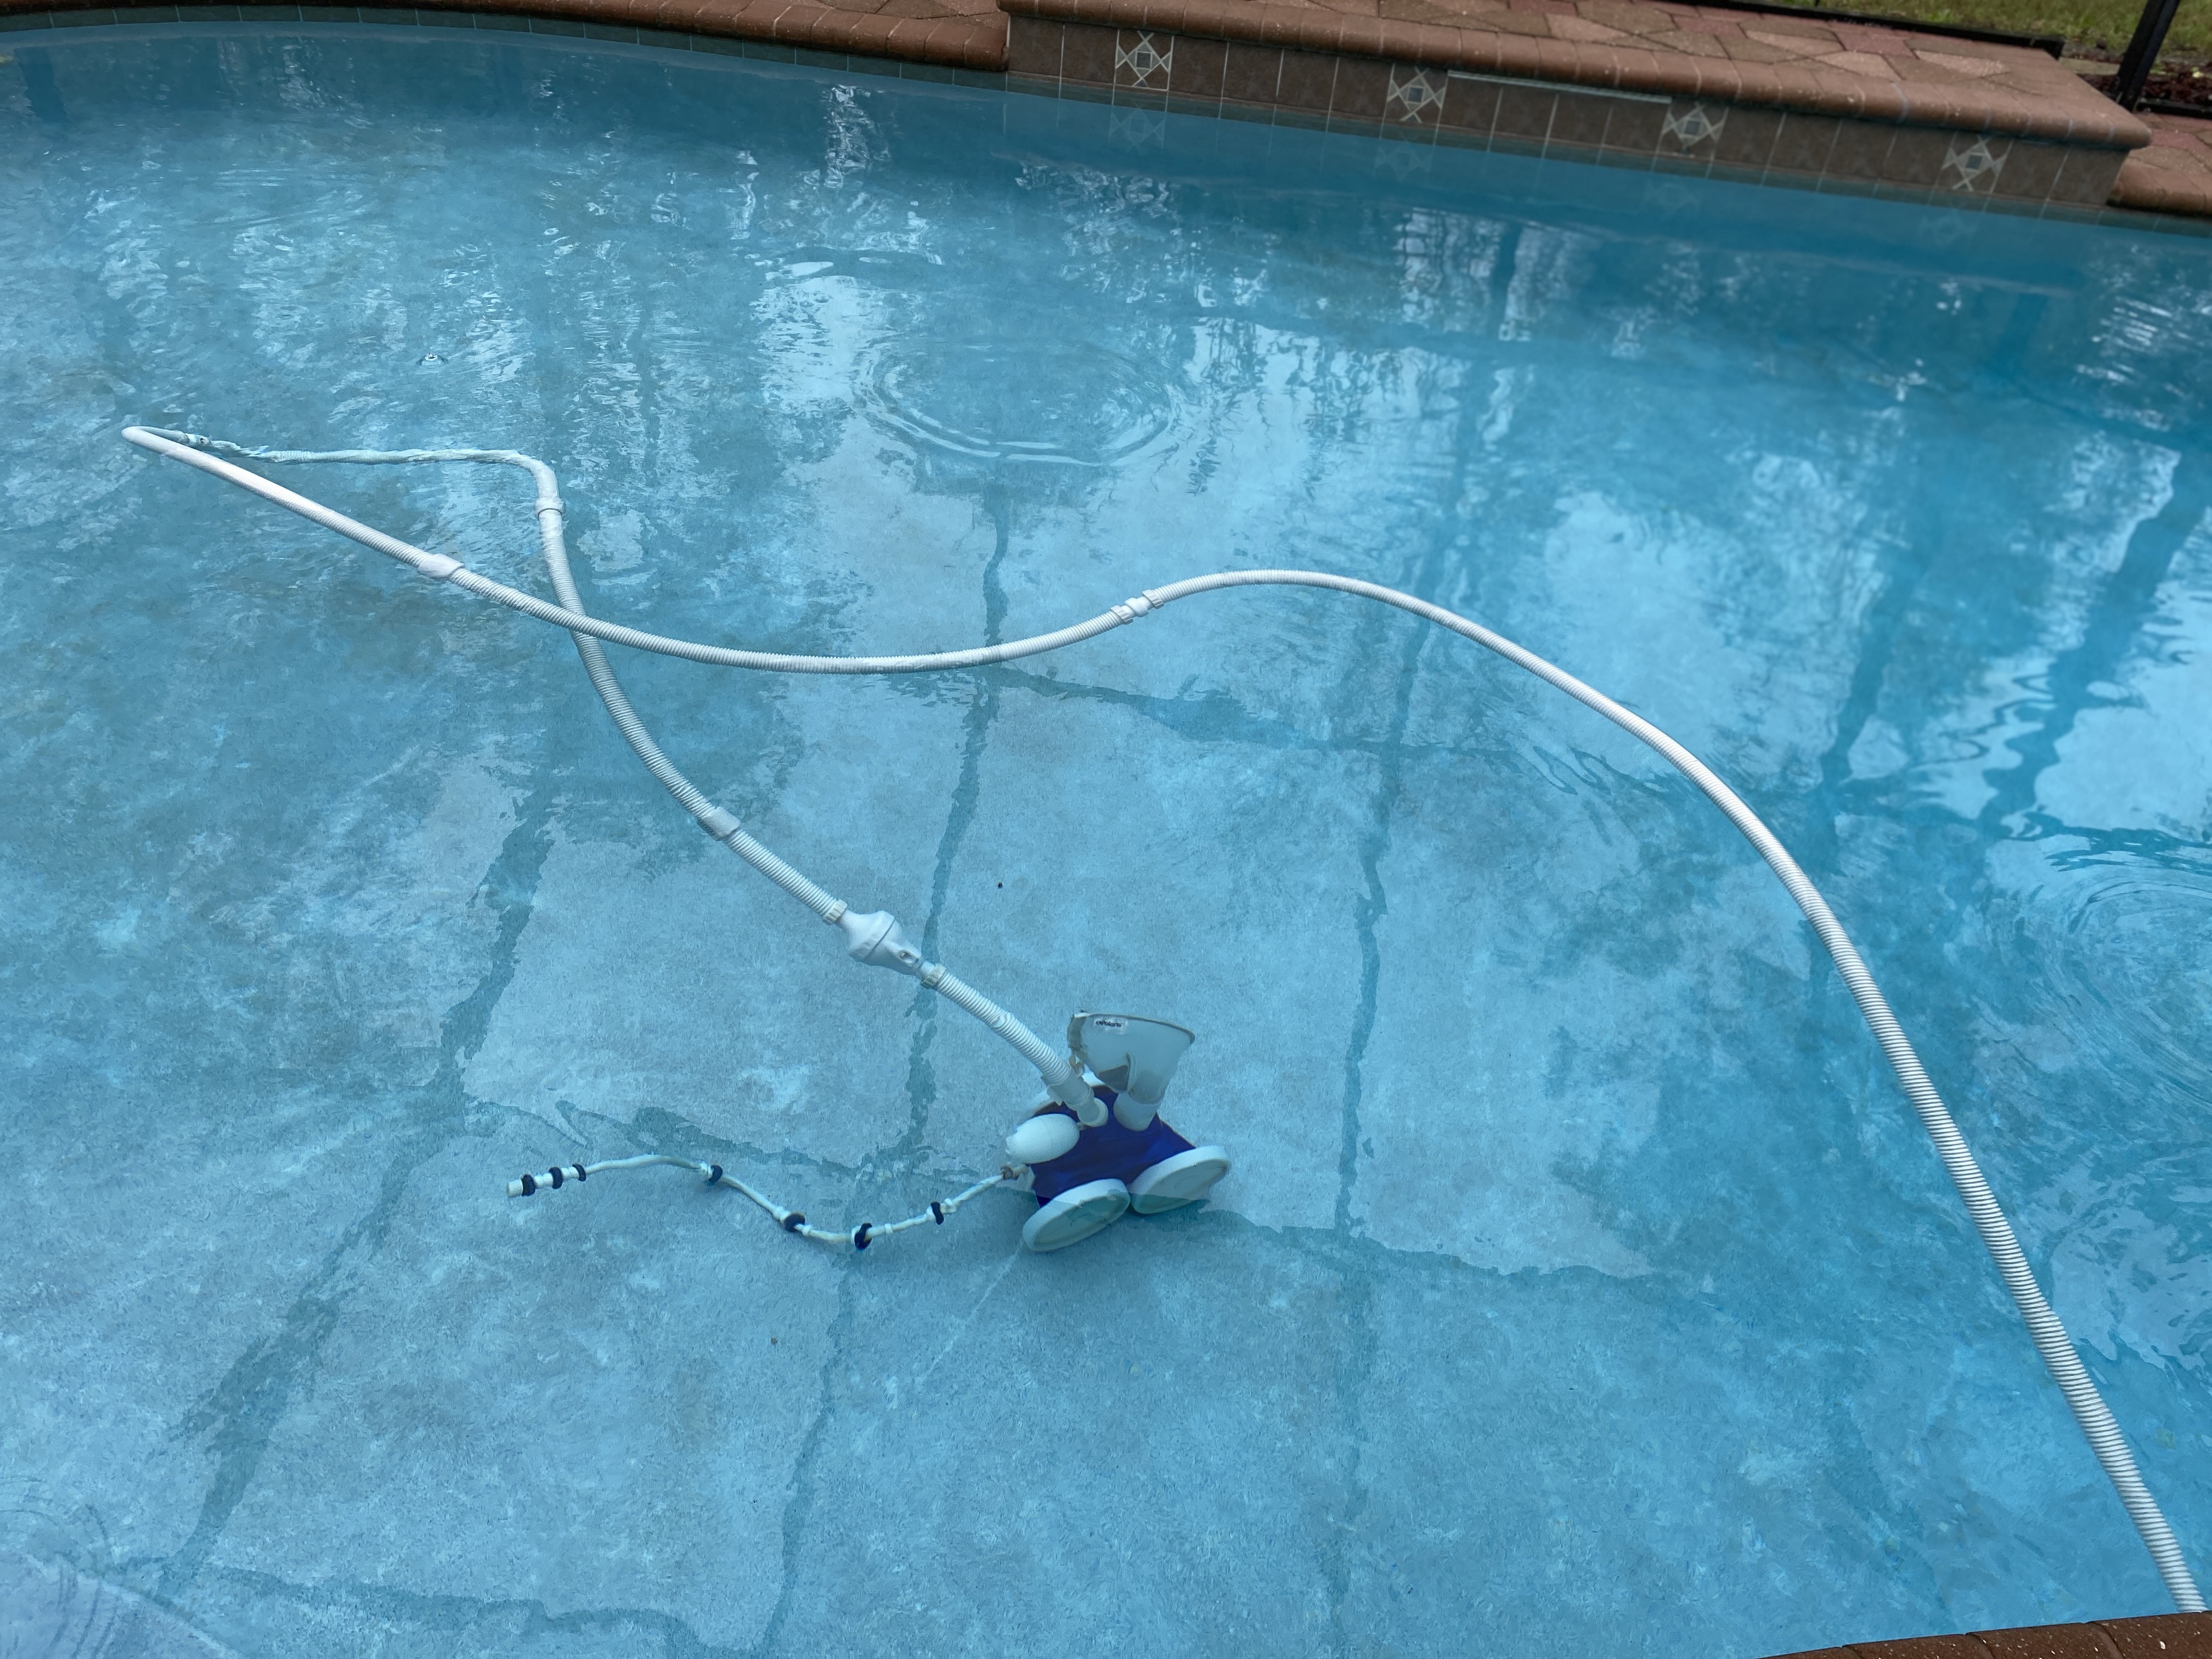
Pool vacuums are great! They work on reverse suction, so if you have any water features, you will want to turn them off while you run your pool vacuum for maximum benefit. The water pressure will be reduced if you leave water features on while running your vacuum. Make sure your vacuum net bag is cleaned out regularly and the tail of your vacuum is not sucked up into the vacuum itself. This happens frequently to mine and I just pull it out and toss the vacuum back into the pool. Easy peasy. Generally speaking I leave my pool vacuum in and running anytime my pool is not being used for swimming. This helps keep the water moving, the dirt from settling, and generally keeps my pool very clean with minimal effort. It is very simple to remove when my family wants to use the pool: I simply turn off the vacuum and turn on all the fun water features in just a few minutes.
Pool Maintenance item #3: Clean all filters thoroughly.
There are a few different filters that keep your pool water crystal clear. You have a skimmer that is usually located near the deep end of the pool and has a small circular opening on the pool deck. You lift that up, pull the basket out, and remove any leaves or debris caught inside. Toys can be found in here too! Be careful when opening this lid, though, especially if you do not have a pool cage. Critters can be found here too, like frogs and snakes.
Another very important filter to clean is your main filter cartridge. This is found by the pool equipment on the side of the house. You need to shut off the pool pump system completely before attempting to open the pressurized chamber. There is a pressure valve to unscrew, and you will hear the water gurgle as it recedes. Then you can unscrew the filter top and remove the filter. It is heavy, because it is now filled with water like a sponge, and it is likely dirty from filtering out all the pollen and dirt. I like to wear old clothing or a swim suit when I do this, because it can be messy. I take a garden hose and use a nozzle with a strong single spray and I go down each and every line of my filter spraying out all the dirt and pollen. This takes a good 5 minutes to complete, proceeding slowly and meticulously. Once totally rinsed off with a good amount of pressure, I put the filter back into the casing and put the lid back on. Once on tight, I can turn the pump back on and wait for the pressure to kick back in. This part can be tricky, so if you aren’t sure how your filter system works, I highly recommend asking someone to show you how to do it the first time.
There is another filter as part of the motor system as well, which also has a basket to catch last minute small things before they could potentially make it into the motor. Your pool pump system must be still OFF before you attempt to open this part of the filtration as well. Find this filter, unscrew the lid and clean that basket as well. Once all of these filters are cleaned and replaced, you are back in business.
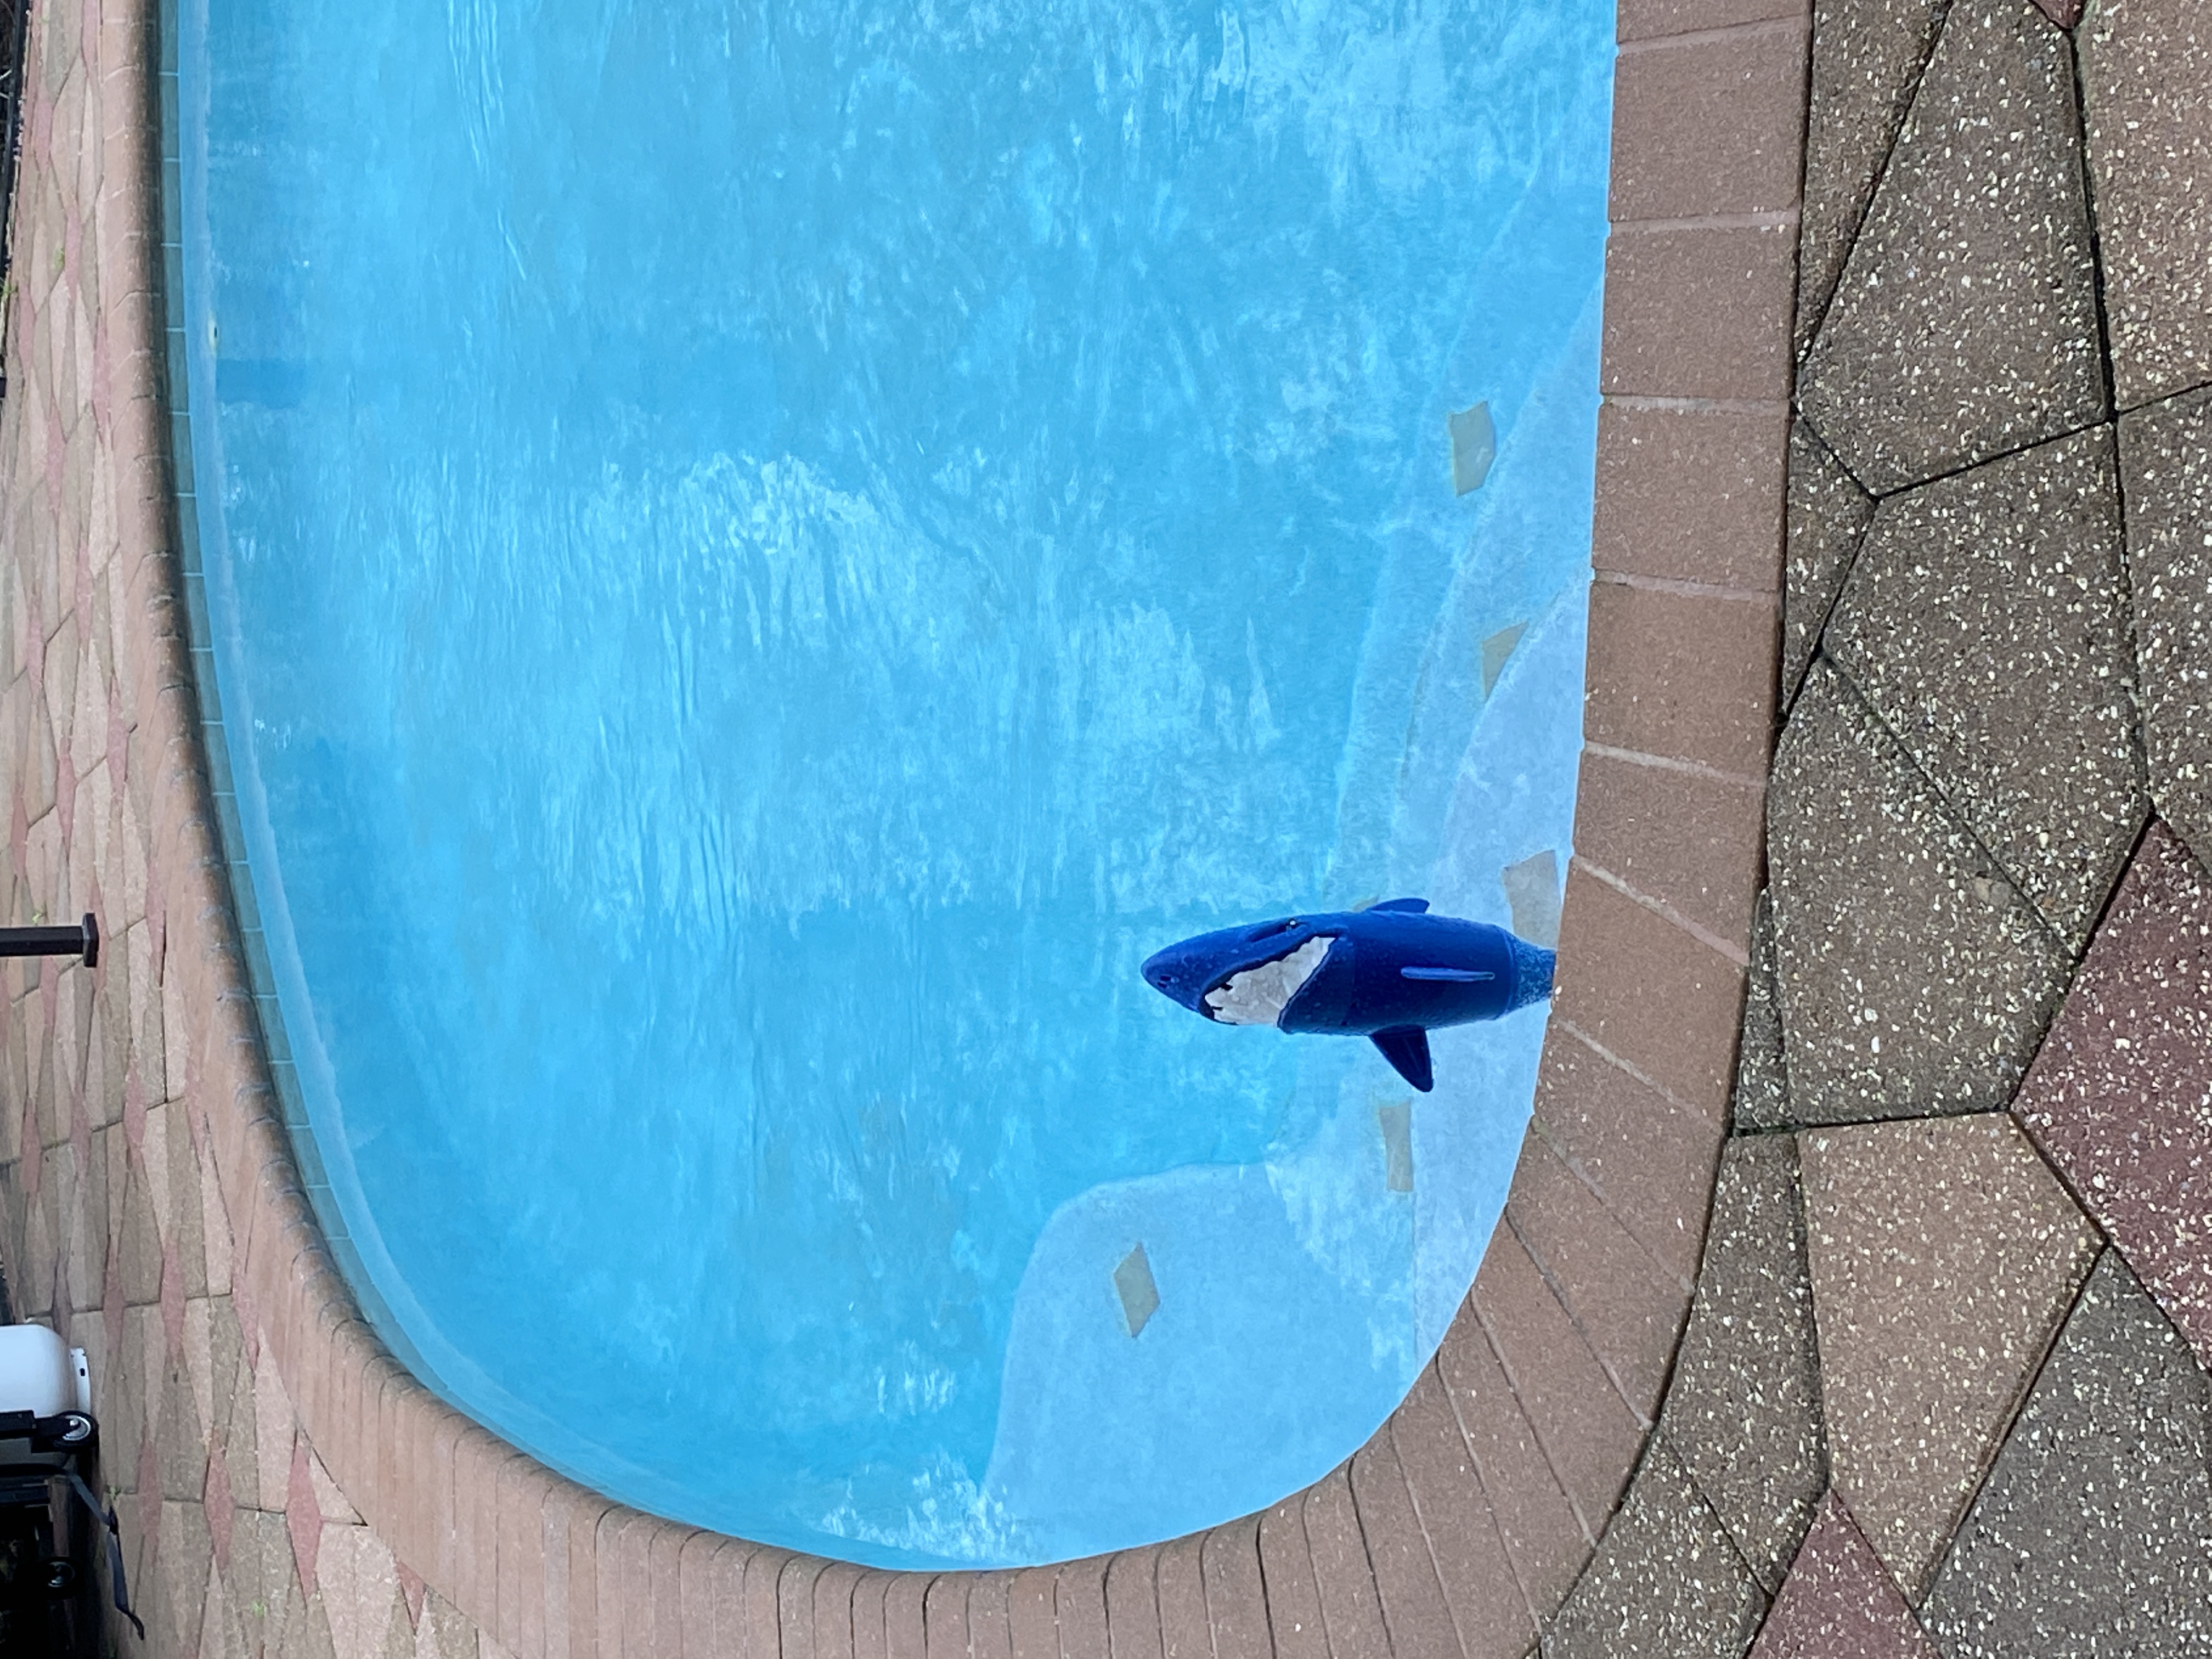
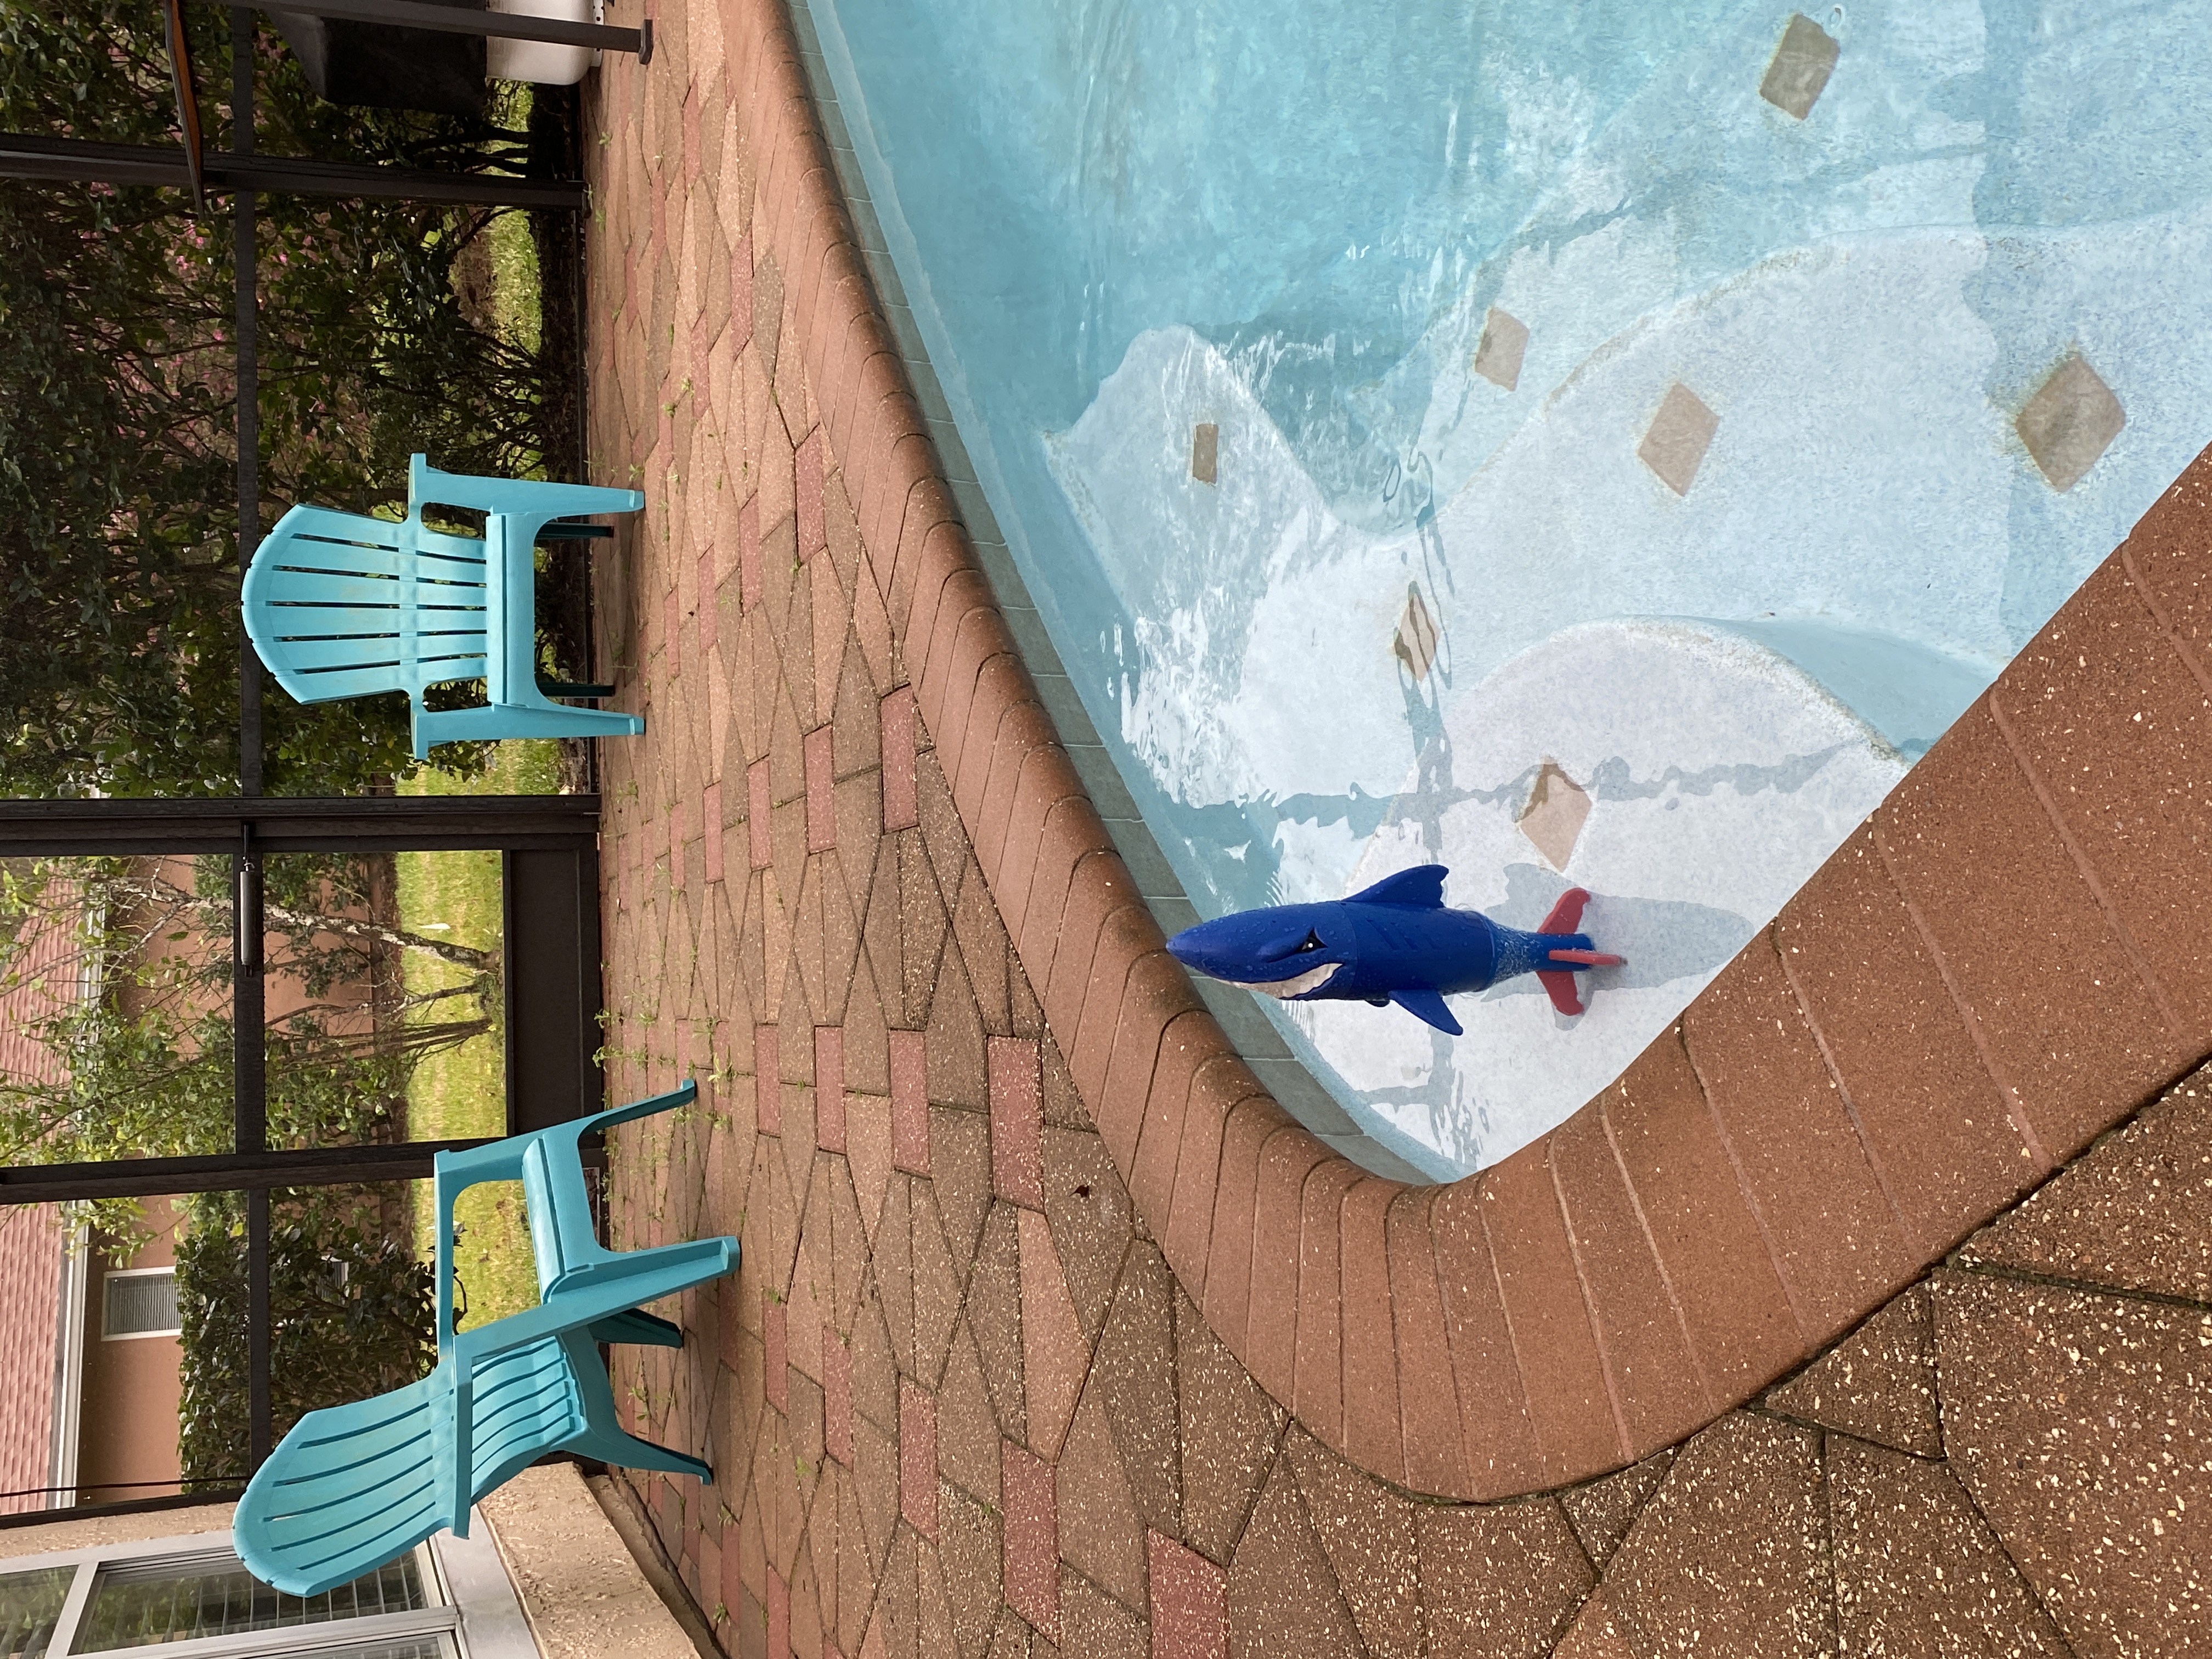
The only thing left to be aware of is pool sharks. They can be sneaky, and usually show up when your kids are trying to be silly and play pranks. No pool service can remove them completely, so just something to be aware of and part of your weekly maintenance routine. Remember: having a pool is a lot of FUN 90% of the time! That small 10% does require maintenance and upkeep, but the more you know, the better it gets!
DISCLAIMER: This is not a conclusive or comprehensive list of pool maintenance items. There are more things you must do regularly, like check your salt cell, clean your salt cell, replace filters, add calcium hardness, check the motor, ensure no pool leaks, and other various maintenance issues that creep up. If your pool starts to turn colors, either green or cloudy, STOP SWIMMING! You must take care of algae immediately. Don’t panic though, almost everything is curable with the right chemicals and some patience. You will be back to enjoying your backyard oasis is no time! If this happens to your pool, read my blog post “Why my pool is like a teenager” and get some helpful tips.
If you have questions, please refer to the pool professional of your choice, or feel free to contact me. I’m happy to share my insight as a pool owner. I maintain my pool myself, always have and always will. It truly does not cost me much time or money to do so, and it gives me great pride to know my pool is swim-ready at all times.
Happy Swimming! And remember: beware of the sharks!